
In a world dominated by digital convenience, the transformation of physical DVDs into digital formats has become a necessity.
Ripping a DVD to MP4 not only preserves your favorite movies, TV shows, or personal videos but also liberates them from the limitations of physical discs, allowing you to enjoy your content on a multitude of devices.
In this article, we’ll walk you through the steps, tools, and considerations involved in ripping a DVD to the widely compatible and space-efficient MP4 format.
Why Rip a DVD to MP4?
Before diving into the steps, let’s explore why choosing the MP4 format for DVD ripping is a popular and practical choice:
- High Compatibility: MP4 is widely supported across various devices, including smartphones, tablets, smart TVs, and media players, ensuring seamless playback.
- Space Efficiency: MP4 employs advanced compression techniques, maintaining high-quality video and audio while reducing file sizes, can save your computer storage and streaming.
- Feature-Rich Format: MP4 supports multiple audio tracks, subtitles, and chapters, allowing you to retain essential elements of your DVD.
- Streaming and Sharing: MP4’s compatibility and manageable file sizes make it easy to share your ripped content with friends or stream it across different platforms.
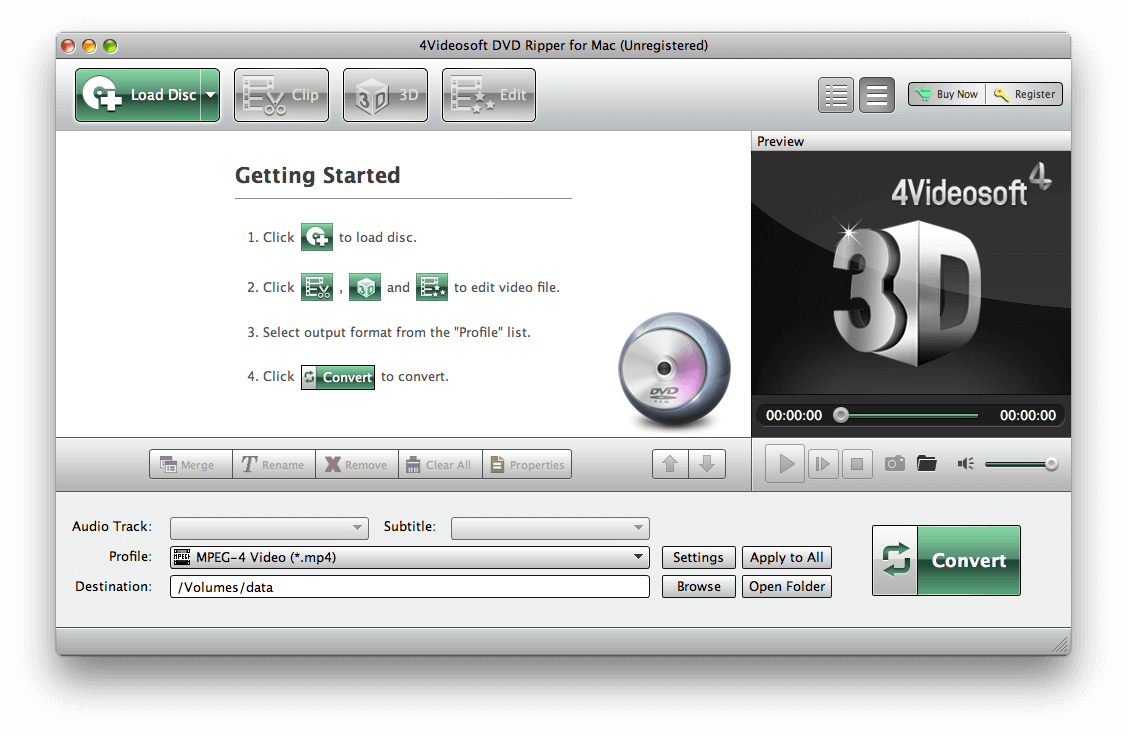
Software for DVDs to MP4 Conversion
To embark on the journey of converting DVDs to MP4, you’ll need the right tools. Here are some popular and user-friendly software options:
- HandBrake: A free and open-source tool that supports DVD ripping to MP4, MKV & WebM, with various built-in device presets and offering a range of customization options.
- MakeMKV: A free software converts DVDs into MKV files, which can then be easily converted to MP4 using another tool like HandBrake. It’s known for preserving the original quality of the content.
- WinX DVD Ripper Platinum: Offering a comprehensive suite of features, WinX DVD Ripper Platinum supports converting DVDs to various formats, including MP4, with a user-friendly interface.
- Wonderfox DVD Ripper Pro: Combining speed and simplicity, Wonderfox DVD Ripper Pro supports a wide range of output formats, including MP4, and provides various customization settings.
- VideoProc Converter AI: An all-in-one tool to convert videos & DVDs, compress, edit, record and download videos. Added the AI features to enhance the software capabilities.
Step-by-Step Guide to Rip a DVD to MP4
Follow the steps below closely to make sure you can convert dvd to mp4 format successfully.
Step 1: Install DVD Ripping Software
Download and install your chosen DVD ripping software. In this example, we’ll use the free HandBrake software. Place the DVD you want to rip into your computer’s DVD drive.
Step 2: Open HandBrake and Select Source
Launch the HandBrake software and in the left panel, choose the DVD as your source by selecting the F:\ (DVD). The software will scan and load the dvd contents (preview on the screen).
Step 3: Choose Output Settings
In the “Summary” tab “Format” column, select the “MP4” as your output format. HandBrake offers various presets for quality and device compatibility.
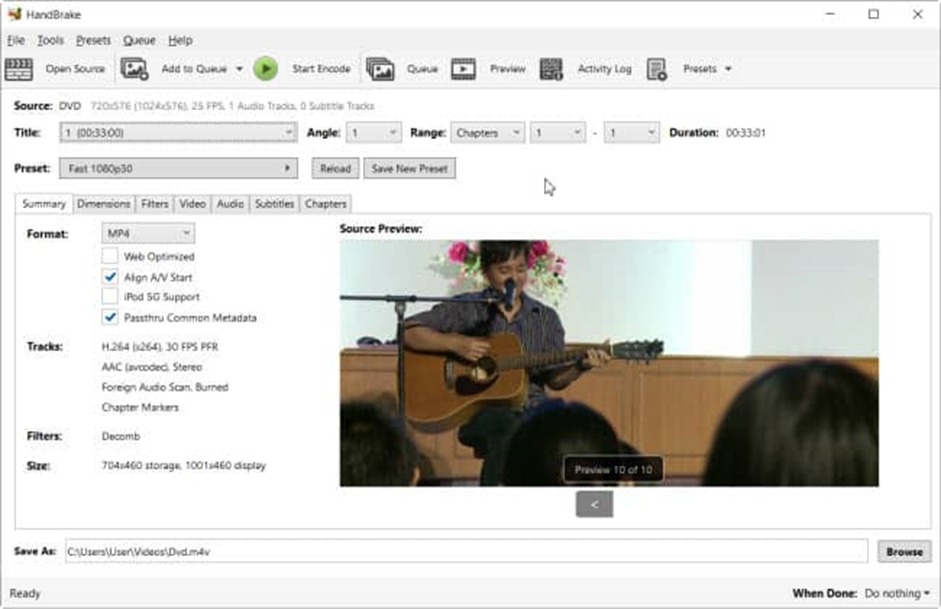
You also can change the other settings by clicking on “Video”, “Audio” or “Subtitles” tabs to change the settings such as encoder, resolution, frame rate, quality, subtitles, and more according to your preferences.
Step 4: Start Ripping Process
Click the “Start Encode” button to initiate the ripping process. This may take some time depending on the length of the content and your computer’s processing power.
Once the process is complete, you can find the ripped MP4 file to your specified location on your computer.
Note:
If you want to rip the encrypted or commercial discs using HandBrake, you need to know how to install an additional library called libdvdcss for HandBrake.
Best Practices for Ripping DVDs to MP4
To ensure a smooth and high-quality DVD ripping experience, consider the following best practices:
- Maintain Original Quality: When configuring settings, aim for a balance between file size and quality to ensure a satisfactory viewing experience.
- Organize Your Rips: Develop a consistent naming convention and folder structure for your MP4 files to keep your digital library organized.
- Test Playback: After ripping, play the MP4 file to confirm the quality and check for any issues.
- Regular Backups: Ensure you have backups of your ripped content, especially if you plan to delete the original DVD files.
Conclusion
Ripping a DVD to MP4 not only preserves your cherished content but also opens up a world of digital possibilities.
By following this guide closely, you can seamlessly transition your DVD collection into a more accessible and versatile digital format for playback on computer or portable devices.
Embrace the freedom to enjoy your favorite movies and videos anytime, anywhere, without the constraints of physical discs.